Working Locally
The notebooks assume a Python geospatial environment with common Pangeo tools. A environment.yml is provided in the repository.
Create the environment with Conda or Mamba:
conda env create -f environment.yml
conda activate polar-hackathon
Alternatively
mamba env create -f environment.yml
mamba activate polar-hackathon
Alternatively, you can create a local Pixi environment from the same file. If you do not have Pixi installed, see the Pixi installation guide.
pixi init --import environment.ymlNetwork access is only needed for remote object-store reads or optional source downloads. The format tutorials are written so downloaded examples land in downloaded_data/ and can be regenerated instead of committed.
Working on Polar TEP and EarthCODE Workspaces
If you are using the provided cloud platform environment these notebooks and environment will already have all needed packages installed. Furthermore, there is a shared /bucket/ directory for collaboration.
You can directly start working in the environment. You can access this cloud environment during the week of the online pre-hackathon and the week after!
To request an account (only available during the workshop!) click on the following and use your github account to sign in: https://
The login, you must have a GitHub account.
We will need to approve access for you to the online workspaces. You can then directly clone and open this workshop by just following the link below:
https://
Make sure to select the correct environment size - Dask Gateway and 12gb RAM 4 CPU as shown in the screenshot below
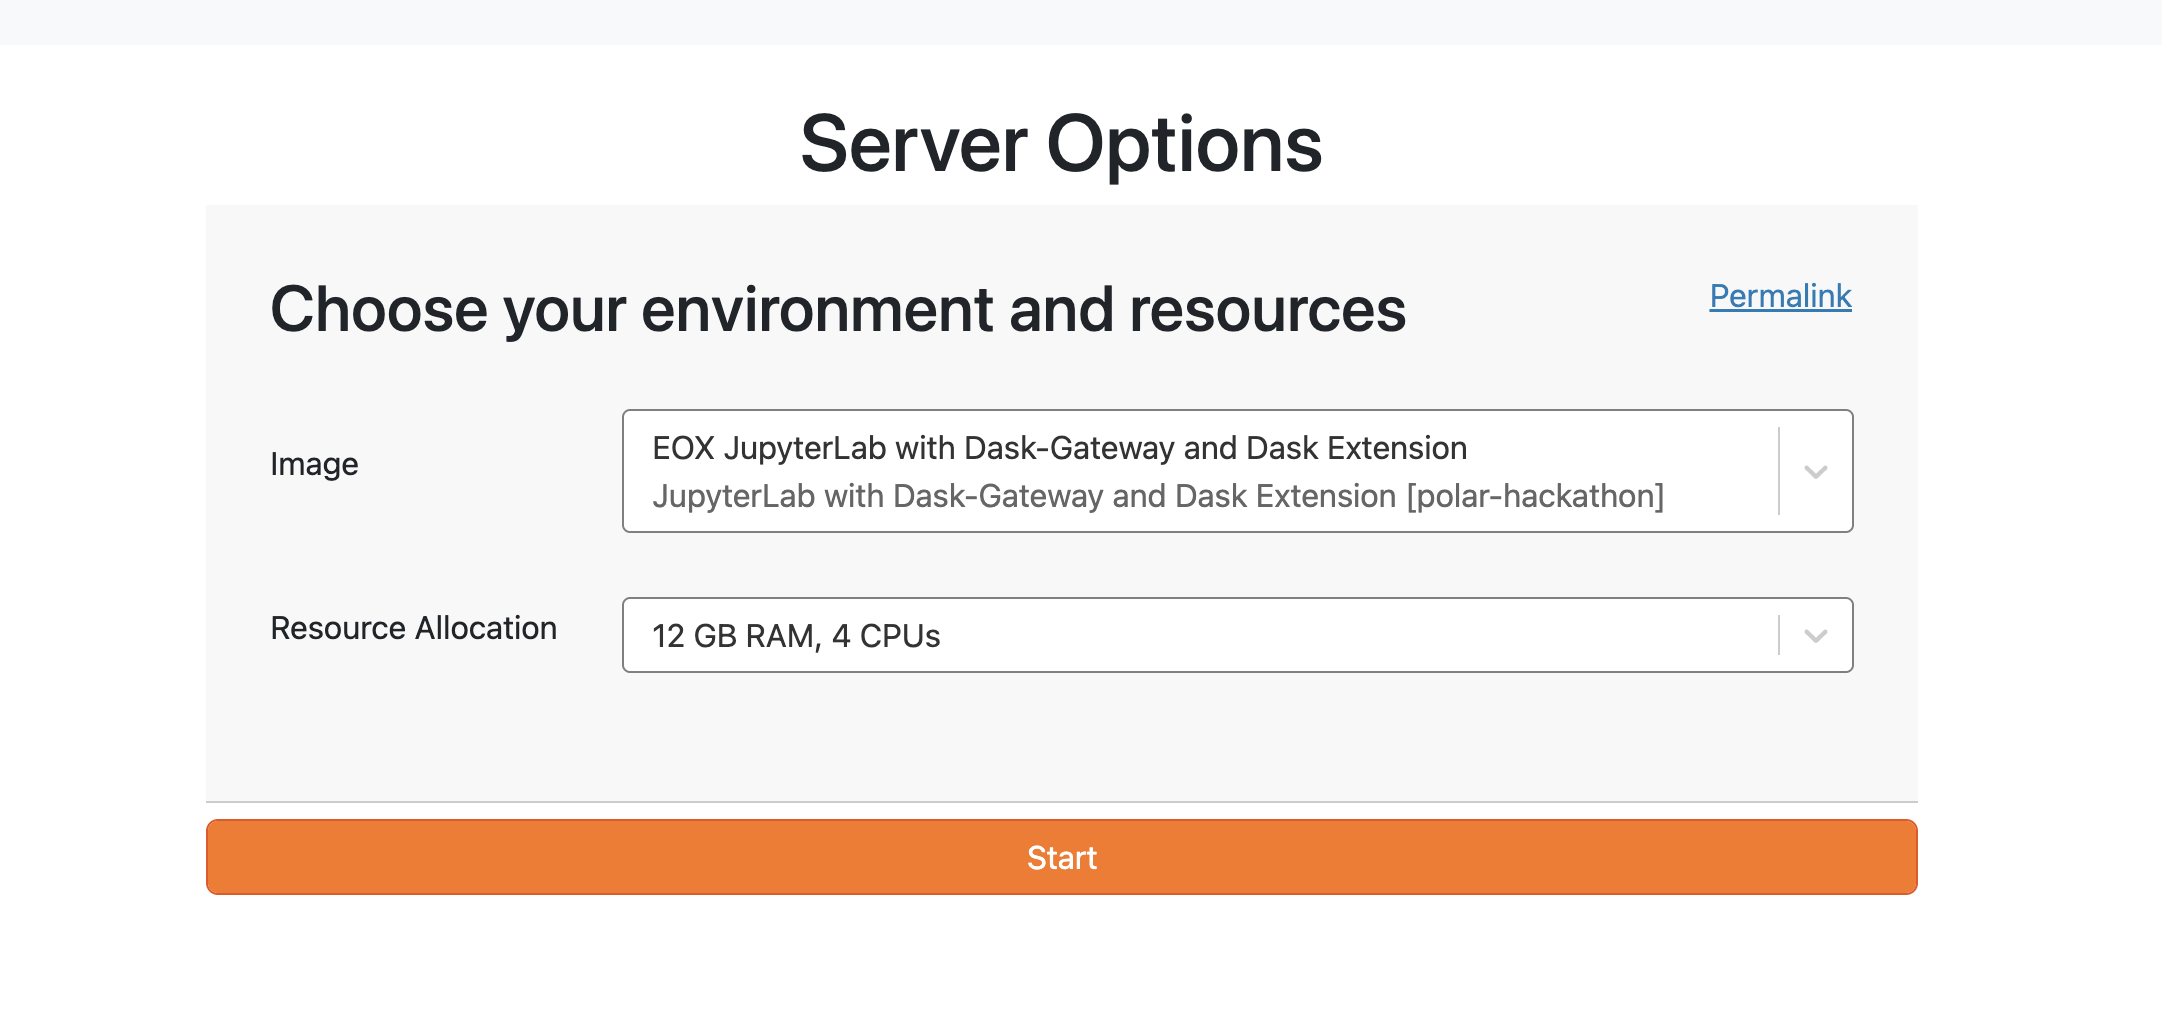
See the introduction to Polar TEP for more details.
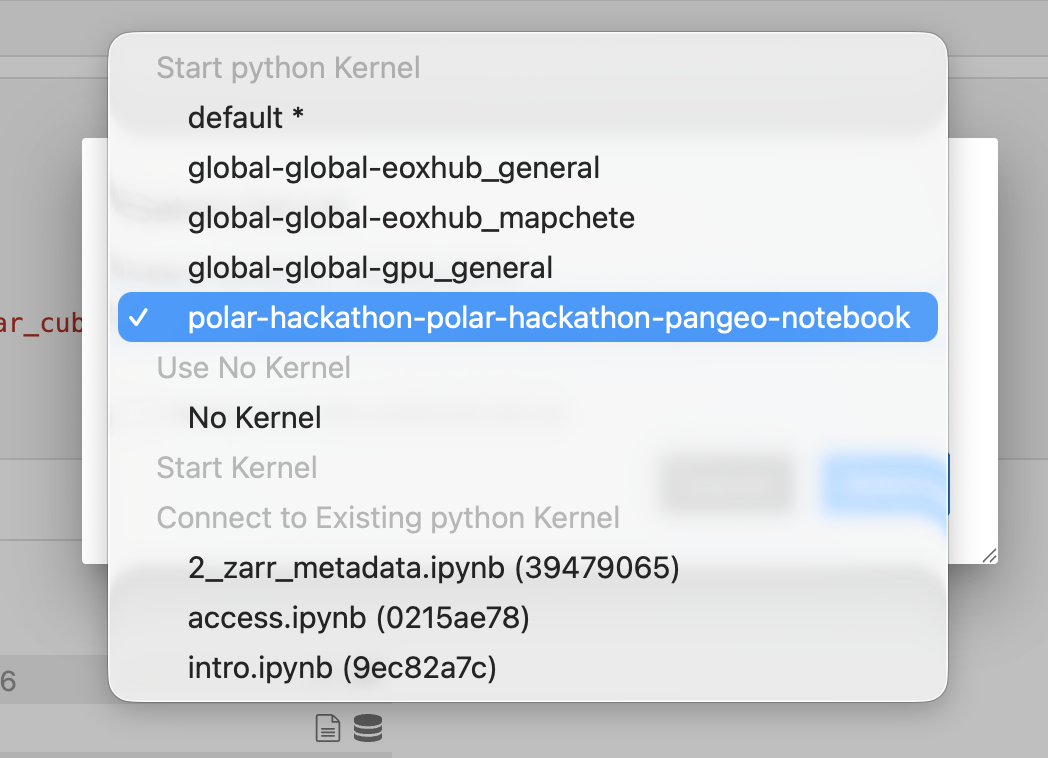
After you enter the environment, and open a notebook, you might be asked to select a kernel - select polar-hackathon-polar-hackathon-pangeo-notebook