0.1 Prerequisites Using EarthCODE workspaces#
Short introduction to Earthcode#
At EarthCODE we aim to not just store data but make it easily accessible and FAIR. The Open Science Catalog is built on the Spatio Temporal Asset Catalog (STAC), which is a standard for describing geospatial data. Therefore new entries must conform to its specification.
To process your data and publish it on Open Science Data Catalogue, we need six things from you to get started:
Information about your ESA (EO Programme) funded
Project,Information about your
Product / DatasetInformation about the actual
files/dataWhether you need to
store your results permanently on ESA cloud storage.Information about the
workflow/codeyou used to generate the data.Information about the
experimentthat generated the dataset.
We’ve broken the process into five steps, contained within five notebooks. You can run the individual notebooks and commit the results via pull request to the open science catalog libray. Below you can find instructions how to do this via the EarthCODE workspace.
Intro to Earthcode workspaces:#
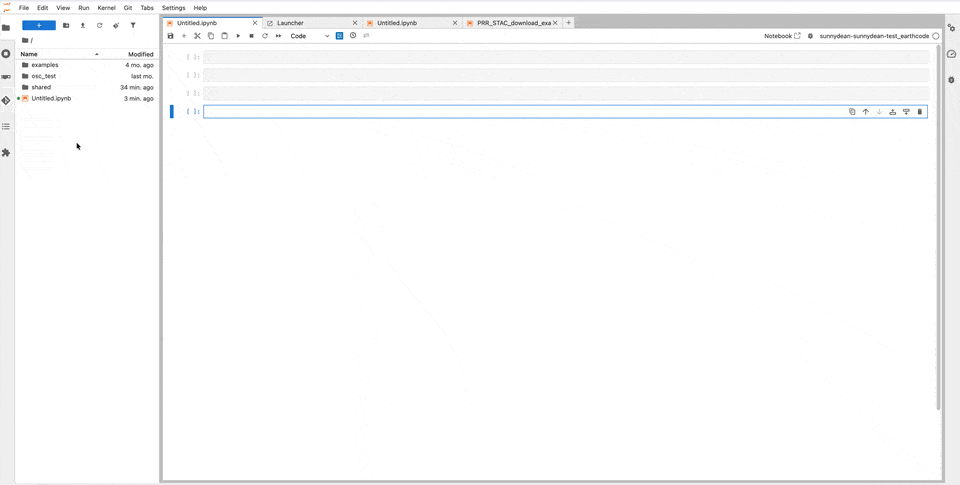
The EarthCODE workspace allows you to access to an integrated Jupyter Lab environment with the EarthCODE library installed, in order for you to quickly get started with scientific research and experiments.
The login, you must have a GitHub account.
Once you are logged in, you can access all features directly through the portal or find links to them.
When you log in, you will find the navigation bar on the left-hand side, containing links to all available resources and tasks, while the middle pane serves as the main interactive area, changing depending on the option you select.
1. Create a copy of Open Science Catalog metadata#
You can add new content to the OSC via GitHub Pull Request. To do this, you need a to fork the OSC repository, embeded the new information into the existing catalog and merge. The steps below describe the process.
Fork the open science catalog repository on github - ESA-EarthCODE/open-science-catalog-metadata
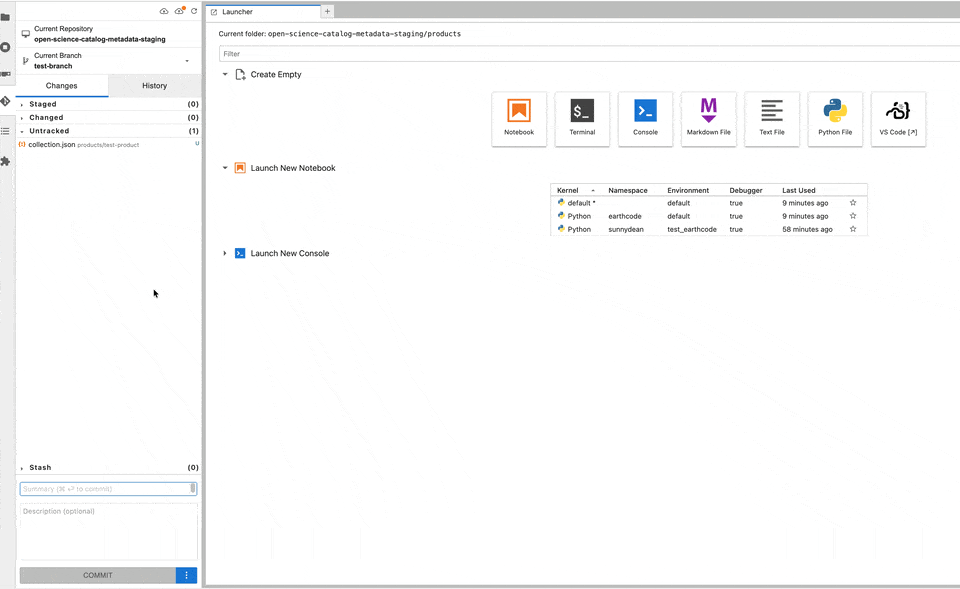
Then clone your forked repository and create a branch by using the Git GUI available in the EarthCODE Workspaces:
2. Sequence of actions#
First clone the earthcode library guide notebooks by running inside your accounts workspace:
git clone https://github.com/ESA-EarthCODE/earthcode-library.git
Run notebooks in this order:
guide/1.Project.ipynbguide/2.Product.ipynbEither
guide/2.1.Product_files_PRR.ipynborguide/2.2.Product.ipynb, depending on the results from step 2.guide/3.Workflow.ipynbguide/4.Experiment.ipynbOpen a pull request against the main OSC repository
3. Opening a GitHub PR#
After the validation passes, you are ready to request changes into existing open-science-catalog-metadata repository to be able to publish your datasets and project by using the EarthCODE Workspaces Git GUI as shown below.
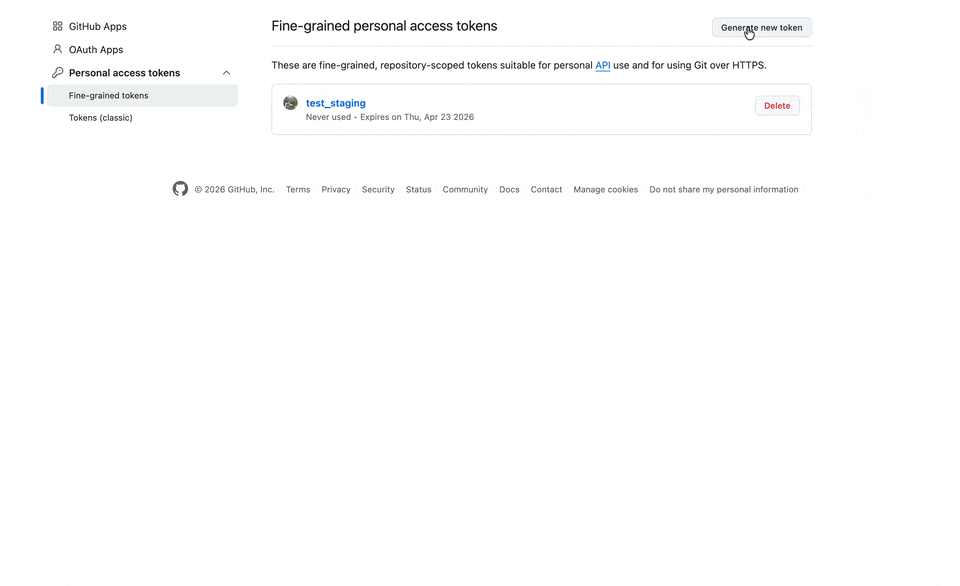
First you need to create a valid token.
click on fine-grained tokens, and select generate new token
Limit access to the forked repository and provide read-write Contents permissions
Copy the token produced
Commit changes using the EarthCODE Workspaces Git GUI (or terminal commands)
Open a pull request against the main open science catalog repository
gh pr create -f
Or alternatively directly via github.com:

Check the status of your PR direclty in GitHub#
After creation of Pull Request you should see it on the list: ESA-EarthCODE/open-science-catalog-metadata
Check the status of your PR under: ESA-EarthCODE/open-science-catalog-metadata
Changes to the OSC content will be reviewed by the EarthCODE Data Steward team. In case any changes are needed to your inputs, you will be contacted by the team.